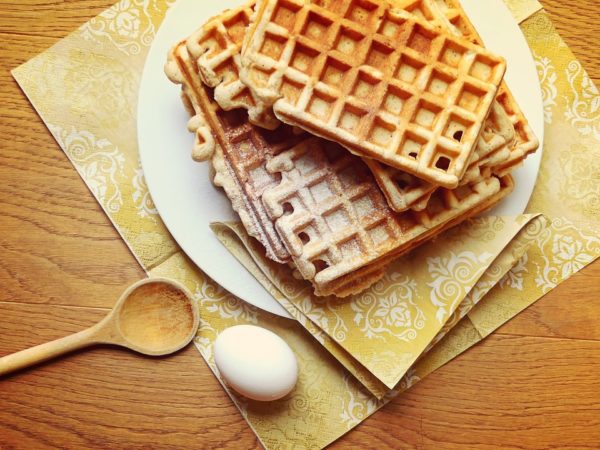
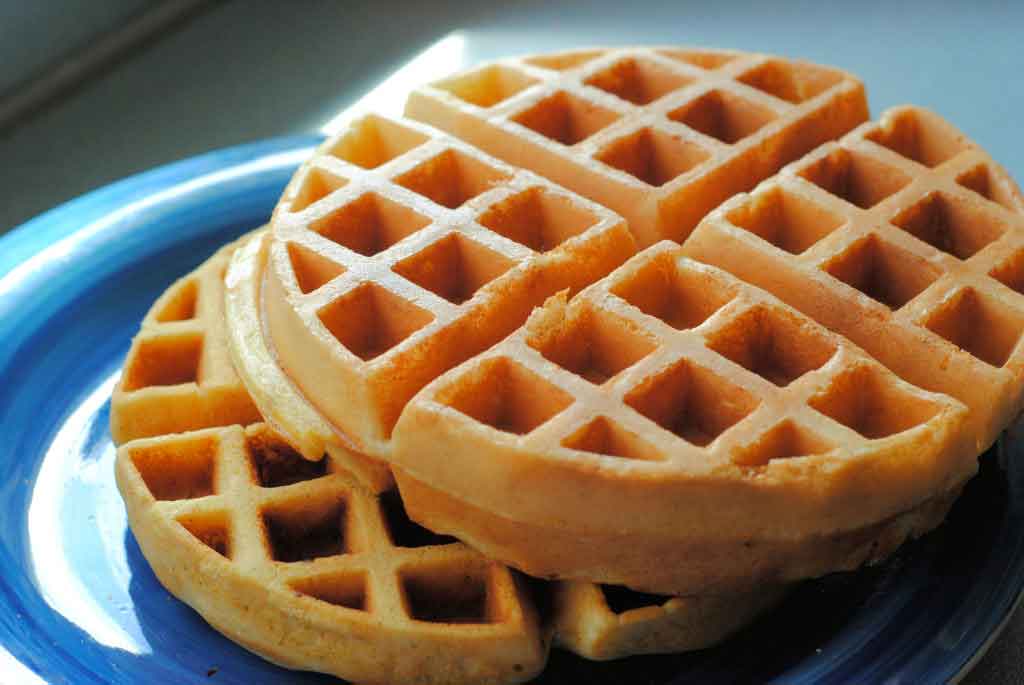
Looking for the best way on how to use a waffle maker?
This article was written to give you an overview of what a waffle maker is, some waffle maker basics, along with a very basic recipe for making waffles.
What makes the idea of a waffle maker powerful is the idea that you control the ingredients. Of course, you can always just buy a ready-made waffle mix and just pour that in.
However, you can also make your batter from scratch. This means that you can make your waffles gluten-free, vegetarian, vegan, grain-free, lactose-free, egg-free, or even Paleo .
Of course, perfect waffles to you may just mean that they have maple syrup on them. And that’s ok!
You’re only limited by your creativity and cooking skills. We won’t get into all the different types of waffles you can make here, but we will give you a very basic batter recipe that you can build on and customize.
What is a Waffle Maker?
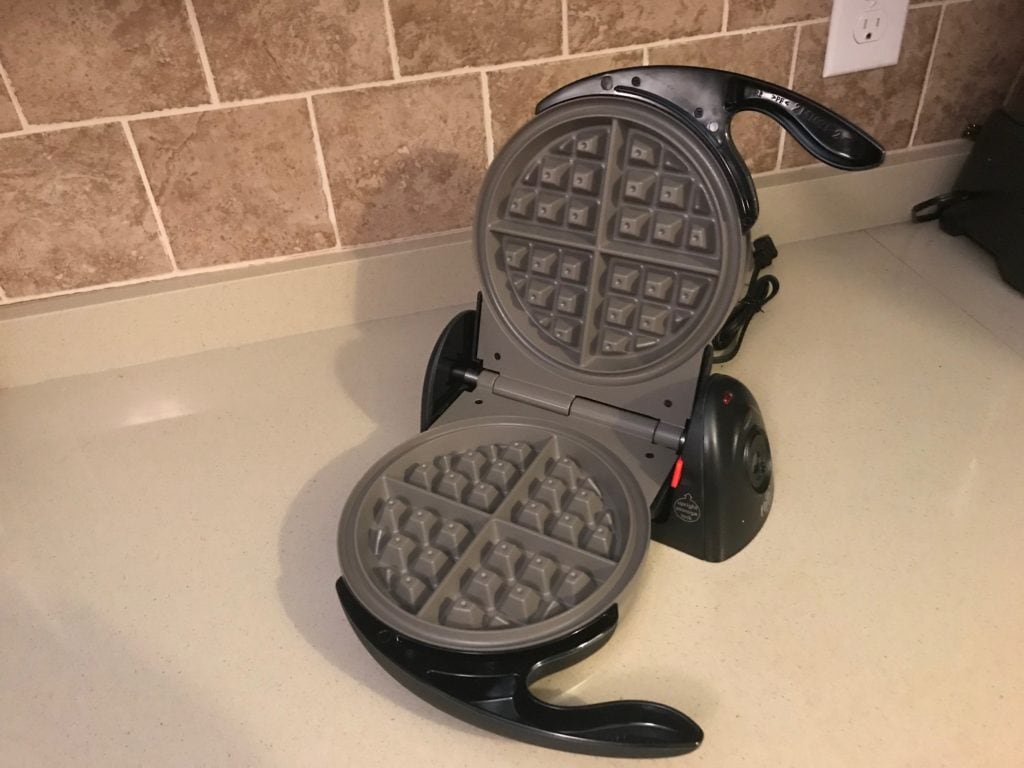
A waffle maker is a kitchen appliance that cooks waffles. The terms waffle iron and waffle maker are often used interchangeably. In a strict sense, a waffle iron refers to a cast-iron device put over a fire or on the stove top in order to cook waffles. A waffle maker refers to an electronic device that will cook a waffle at the push of a button.
Here at Easy Kitchen Appliances, we use both terms interchangeably. When we refer specifically to the cast iron device, we’ll say so. We hope we don’t confuse anyone!
What can you make in a waffle maker?
Obviously, you can always make waffles in a waffle maker. However, you can also make donuts, cinnamon rolls, sandwiches, eggs, omelets, and whatever else you can dream up. Really, you’re only limited by your imagination. There are even waffle makers that specialize in being combo appliances.
All a waffle iron does is heat up ingredients in an efficient, nonstick, device. What you put in there is up to you.
Step 1 – Make your waffle batter
There are two ways to get your waffle batter ready. Either get a pre-made waffle mix from the supermarket or create your own. If you are using a pre-made waffle mix, go ahead to Step 2, the following instructions won’t be necessary for you.
Some say that pre-made waffle mixes are better because they save a lot of time, while others argue that the pre-made mixes are filled with unnatural preservatives and it’s better to make your own. Both of those arguments can be true.
Pre-made mixes tend to have tons of preservatives and ingredients that not everyone can eat or is comfortable eating. On the flip side, pre-made batters are very convenient. You can just pour it in and it’ll be ready to bake.
If you do prefer to whip up your own batter, then try using these instructions on the perfect waffle batter. If you prefer to just pick up a waffle mix next time you do grocery shopping, then do that instead.
Basic Batter Recipe:
Ingredients (Makes 16 waffles):
- 2 eggs
- 2 cups plain flour
- 2 cups milk
- 1 cup melted butter (or ½ cup vegetable oil)
- ¼ cup sugar
- 3 teaspoons baking powder
- 1 teaspoon vanilla extract
Prep:
Before you begin making your batter, check the instructions or recipe book that came with your waffle maker, as often this will be unique to each waffle maker.
- Separate the eggs and beat the egg whites until stiff into a bowl.
- Mix the milk, egg yolks, and oil/butter in a separate bowl.
- Add all the dry ingredients to the egg/milk/butter bowl.
- Fold in the beaten egg whites.
- Your waffle mix is ready for the waffle maker.
Step 2 – Heat the Waffle Maker
Once you have made your waffle batter mix ready, plug in and turn your waffle maker on. Make sure you put the waffle maker on a dry, flat surface and add a plate or tray underneath to catch any leaking batter.
Some waffle makers have a temperature dial, and the best option is to turn this up while it heats, and then turn it to your desired setting. The recommendation is to keep it low and bake slowly if you are using it for the first time, to avoid the risk of accidentally burning the waffle!
Step 3 – Grease the waffle maker
Again, checking with your own waffle maker instructions, add some nonstick cooking spray, cooking oil, or brush on some melted butter to prevent the waffle batter from sticking onto the waffle plates.
Most Non-stick waffle makers do not need anything added. Usually, the more butter or fat your recipe has, the less you need to oil your waffle maker.
After that, close the lid and wait for your Ready Indicator Light to tell you that the waffle maker is ready.
Be careful when handling the waffle maker as it will be hot.
Step 4 – Pour on the batter
When your waffle maker is ready, open it up and pour on the waffle batter so that it’s covering the entire waffle plate. After pouring it in, close the lid. Get a paper towel ready to quickly wipe up any excess batter that may fall outside of the waffle grids.
How much batter do you pour in? Many waffle makers have a measurement of how much needs to be poured in, follow its instructions!
As the waffle cooks, there may be some steam escaping from the sides, and the lid may rise a little as the waffle rises. No need to be worried about this.
Step 5 – Finish cooking the waffle
Many waffle makers nowadays have an indicator light to tell you that the waffle is ready to be taken out, but not all do. If yours doesn’t, then the best thing to do is look through the side and watch the waffle batter turn into a cake-like texture. Once you see that, you can take it out. Many waffle makers take between 3-5 minutes to cook a waffle.
Open up the waffle maker and take a look. Close the lid and continue if it needs more cooking, or continue cooking if you prefer a more crispy over chewy waffle.
If you have any leftover waffles, wait until your cooked waffles totally cool down and then freeze them.
When you’re ready to eat them up, pop them in a toaster and then enjoy your delicious waffles!
Wrapping up – How to Use a Waffle Maker
Once your waffle has cooked, slide it off the waffle maker using a plastic spoon or waffle tongs. If your waffle maker is a non-stick one, do your best to not use metal utensils when trying to take out the waffle.
Metal can easily scratch off the non-stick surface. Instead, use plastic or wood utensils. You can then go ahead and make more by repeating this process until all your waffles have been made.
Expect it to take a few times to get used to your waffle maker. Once you get the hang of it, you’ll make perfect waffles every time.
Finally, once your done cooking waffles, enjoy! Some love to add strawberries and Nutella, or maple syrup and bananas. You can make it “protein friendly” by adding Greek yogurt or make it sweet without the guilt by adding some Halo Top Ice Cream.
If you’re on the hunt for the most basic, easy to use type of waffle iron – check out the Old Fashioned Cast iron Stove Top Waffle Iron! A cast iron waffle maker doesn’t depend on electricity, instead, your waffle cooks directly from waffle plates from heat generated by a fire or other heat source.
However you like your waffles and no matter whether it’s for breakfast, lunch, dinner, or a snack, enjoy!
Related Posts
-
Useful Old Fashioned Cast Iron Stove Top Waffle Iron Review
You can’t have a brunch without warm, freshly baked waffles. If you’re looking to buy…
-
Keyboard Waffle Iron Review
Are you looking for a fun shaped waffle maker? Consider the Keyboard waffle iron! Do…
-
Waffle Iron Ratings
All about Waffle Makers and their ratings Are you looking for the highest rated waffle…

